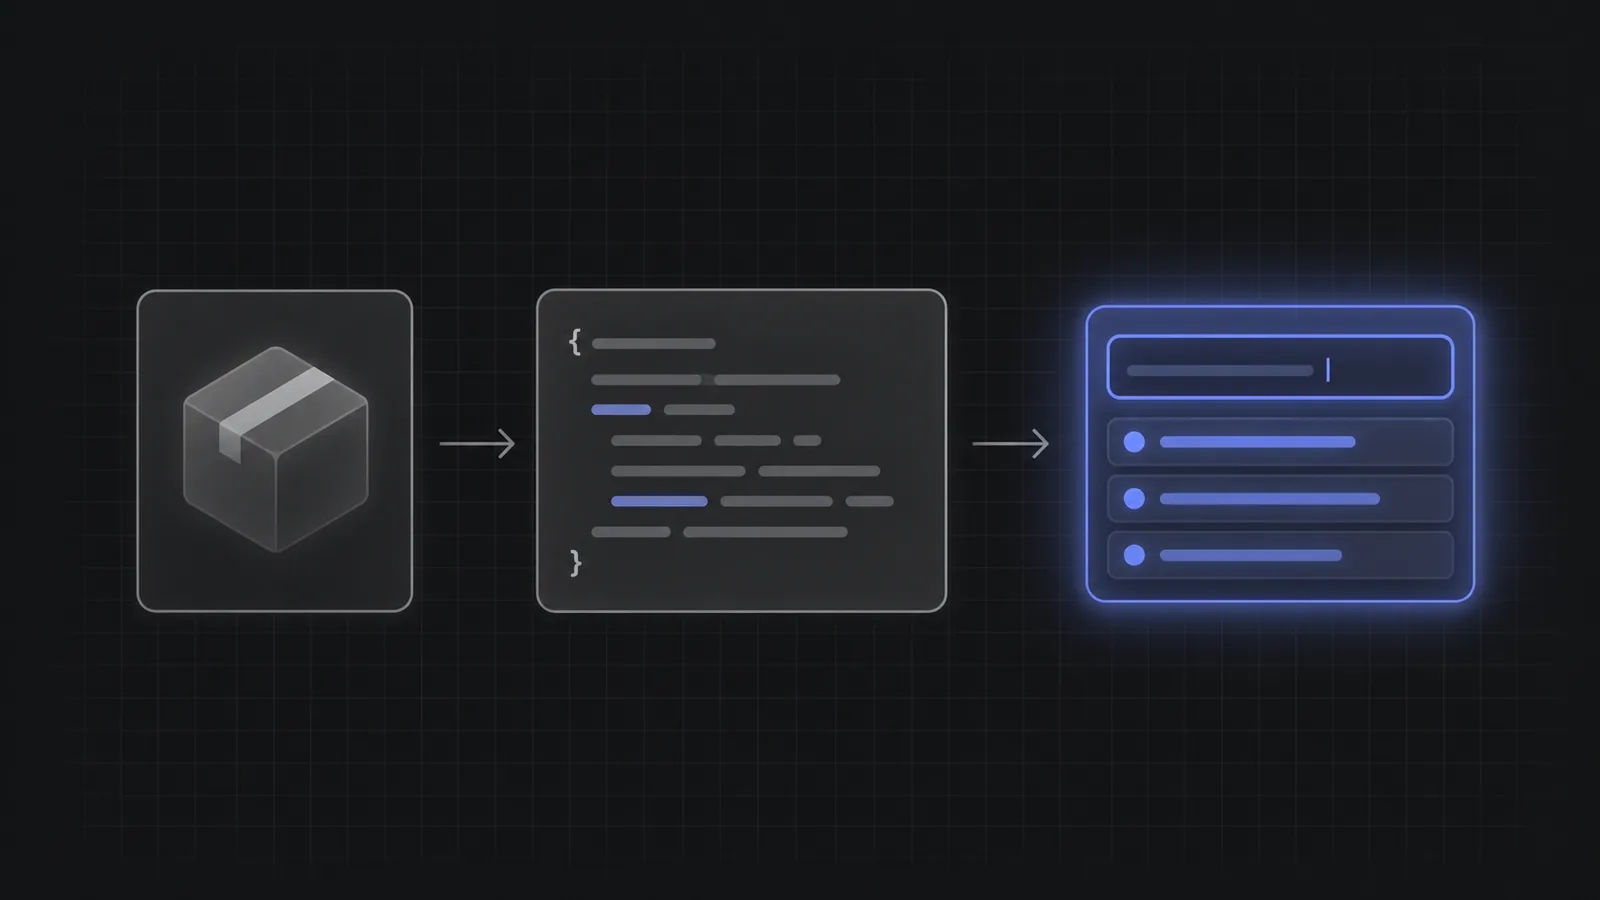
This guide takes the shortest path to a working React integration. It uses the public-key mode for the first run, then explains the access-token setup recommended for production.
You need a React application, an AI Autocomplete product configuration, and a public key from the account console. The component owns the input, suggestion dropdown, structured pills, keyboard behavior, and the per-keystroke request loop.
The integration ends where your existing product begins: on submit, you receive a complete query and decide what happens next.
1. Install the React package
From the application directory, add the React SDK. It expects React and React DOM as peer dependencies, which an existing React application already has.
The package is @magicx-eng/ai-autocomplete-react. The command below uses pnpm; npm, Yarn, or Bun can install the same package with their normal add command.
- pnpm: pnpm add @magicx-eng/ai-autocomplete-react
- npm: npm install @magicx-eng/ai-autocomplete-react
- Yarn: yarn add @magicx-eng/ai-autocomplete-react
- Bun: bun add @magicx-eng/ai-autocomplete-react
No separate stylesheet import is required. The SDK ships its base styles, and the component accepts a class name and CSS variables when the interface needs to match the host application.
pnpm add @magicx-eng/ai-autocomplete-react
2. Render the component and handle submit
Import AIAutocomplete and place it where the current input belongs. The public key goes into apiConfig. The placeholder introduces the kind of request the product handles.
The onSubmit callback receives the completed result. Use result.query when the downstream system wants readable text. Use result.completed_params when the application also needs the selected fields.
The SDK completes the request. Your application still owns search, navigation, submission, or the action that follows.
In the example below, the existing search function receives the completed query. Replace it with the call your product already makes: update a router query, call Algolia, submit a form, send a chat message, or start an agent task.
import { AIAutocomplete } from "@magicx-eng/ai-autocomplete-react";export function App() {return (<AIAutocompleteapiConfig={{ apiKey: import.meta.env.VITE_MAGICX_PUBLIC_KEY }}placeholder="Find something"onSubmit={(result) => search(result.query)}/>);}
3. Add a key without exposing a secret
For the first integration, create a public key and add it to the application's local environment file. Public keys use the pk_v1_ prefix, are scoped and rate-limited, and are designed for client-side use.
The environment-variable name depends on the build tool. Vite exposes variables that begin with VITE_. Next.js uses NEXT_PUBLIC_. Create React App uses REACT_APP_. Never place a secret key with the sk_v1_ prefix in a browser bundle.
For production, the recommended setup keeps the secret key on your server. Your backend exchanges it for a short-lived access token, and the component receives a getAccessToken callback. The SDK refreshes before expiry and deduplicates concurrent refreshes. The Authentication guide includes the server and browser code.
VITE_MAGICX_PUBLIC_KEY=pk_v1_your_public_key
4. Connect product data, styling, and production behavior
A generic model can suggest general details. A useful product integration also supplies the options that are true now: products, contacts, locations, inventory, prices, plans, permissions, or other application data. Runtime option overrides let the host application provide those values when the corresponding field becomes active.
The drop-in component implements the ARIA combobox pattern. Arrow keys navigate suggestions, Tab completes, Enter submits, and Escape closes the dropdown. If the application builds a custom surface with the hook or HTTP API, it also takes ownership of that accessibility behavior.
Before release, test fast typing, slow networks, token expiry, empty states, keyboard-only use, mobile layout, and the exact mapping from completed fields to the downstream call. The React documentation covers styling, controlled state, runtime options, and the full API reference.
The complete installation path
- Install one package: @magicx-eng/ai-autocomplete-react.
- Render AIAutocomplete with apiConfig, placeholder, and onSubmit.
- Use a public key for the first run; never put a secret key in client code.
- Use short-lived access tokens for production when the server can hold the secret key.
- Pass result.query and completed_params into the search or action the application already owns.
Frequently asked questions
Which React package installs AI Autocomplete?
Install @magicx-eng/ai-autocomplete-react. It exports the drop-in AIAutocomplete component, a hook for custom rendering, and the supporting input and dropdown primitives.
Is a public key safe in a React app?
Public keys with the pk_v1_ prefix are scoped and rate-limited for client use. Never expose a secret key. For production, the recommended mode keeps the secret server-side and gives the browser short-lived access tokens.
Can I use my existing search function?
Yes. Call the existing function from onSubmit with result.query and any structured parameters needed for filters. AI Autocomplete does not require a new search backend.
Can I customize the interface?
Yes. Start with the component and CSS variables, use the hook plus provided dropdown for more layout control, or use the hook or HTTP API to own the whole UI. The API vs SDK guide explains the tradeoff.
Does the SDK handle rapid typing?
Yes. The SDK handles the per-keystroke request loop, cancellation, stale-response protection, token refresh, and interaction state. Direct API integrations must implement those concerns themselves.
Put the intent layer in the React tree
The first version is one component. The production version can grow without replacing the downstream system.
Open the React documentation or compare the SDK with the HTTP API.